

How to Oil a Cutting Board — and Every Other Wood Surface in Your Kitchen
Your cutting board is drying out right now. Not dramatically — it's not cracking down the middle or warping off the counter. It's just slowly going gray, getting that chalky texture that makes it look like something rescued from a church-basement rummage sale. Learning how to oil a cutting board properly is one of those things that takes about ten minutes and extends the life of a good piece of wood by years. The same principles apply to your butcher block countertop, your wooden salad bowl, your rolling pin — any wood surface that lives near water and a knife. So let's go through it once, correctly, and you won't have to think about it again until the season changes.

Why Wood Dries Out (And Why Water Is Only Half the Problem)
Wood is not inert. It's a collection of long fibers that spent years moving moisture up a tree, and even after it's been milled and finished and sitting in your kitchen, it still wants to do that. It absorbs water when it's wet and releases it when it's dry. That constant movement is what causes cracking and warping — not any single soaking, but the repeated cycle of wet and dry over time.
The other culprit is dish soap. A mild rinse is fine. Soaking a wooden board in the sink, or running it through the dishwasher, strips out whatever natural oils remain in the wood and leaves the fibers exposed. Once that happens, the board drinks in water unevenly, swells in some spots and not others, and you end up with a surface that rocks on the counter and catches every crumb in its new collection of tiny cracks.
Heat makes it worse. A cutting board left near the stove or set on a warm stovetop will dry from one side faster than the other. That's how you get a board that cups — curves up at the edges like a taco shell. The fix for all of this is oil, applied before the board looks like it needs it.
How to Oil a Cutting Board: The Right Products, in the Right Order
The product question is where most people get tripped up. The short answer: food-safe mineral oil is the workhorse, and a beeswax board cream is the finish. That's the whole system.
Food-safe mineral oil is inexpensive, odorless, flavorless, and it doesn't go rancid — which rules out olive oil, vegetable oil, and coconut oil. Those all sound reasonable until they turn rancid inside your board and make everything you chop on it smell faintly wrong. Mineral oil is sold at any pharmacy, usually in the laxative aisle, for a few dollars. The bottle labeled "cutting board oil" at the kitchen store is the same thing at three times the price.
To oil cutting board surfaces properly, here's the sequence:
- Make sure the board is clean and completely dry — at least a few hours after washing, ideally overnight.
- Apply a generous pour of mineral oil directly to the surface. Don't be stingy. You want a visible puddle, not a thin smear.
- Rub it in with a clean cloth or your hand, working with the grain.
- Let it soak for at least an hour. Overnight is better, especially for a new or very dry board.
- Wipe off any excess that didn't absorb.
- Repeat two or three more times over the next few days for a new board, or one that's been neglected.
- Finish with a thin coat of beeswax board cream, buffed in with a cloth. This seals the surface and slows the next round of drying.
After that initial conditioning, once a month is usually enough for a board that gets regular use. The test: drip a few drops of water on the surface. If they bead up, you're fine. If they soak in immediately, it's time to oil cutting board surfaces again.
◆ From the Workshop: When you're working with freshly cut pine in a warm shop, the resin will bleed right through your first coat of paint or finish if you don't seal the knots first with shellac. The resin never fully stops moving — it's still liquid inside the wood, and heat from sunlight or a warm room pushes it outward through the finish in amber-colored streaks that no second coat will hide. Old house painters called it 'bleeding knots,' and they shellacked every one before they ever opened the paint can.
Frequently Asked Questions
Can I use the same oil on a wooden spoon or rolling pin that I use on my cutting board?
Yes, food-safe mineral oil or a board cream works fine on any utensil that touches food. The difference is frequency — spoons and rolling pins dry out faster because they're thinner and get washed more often, so they may need oil every few weeks rather than monthly.
My cutting board has deep knife grooves. Should I sand it before oiling?
If the grooves are deep enough to trap food and resist cleaning, yes — a light sanding with 120-grit followed by 220-grit will open the surface back up and let the oil penetrate evenly. Always oil immediately after sanding while the wood grain is still open.
What's the difference between oiling and waxing a cutting board, and do I need both?
Oil penetrates the wood fibers and prevents them from absorbing moisture. Wax (usually beeswax or carnauba) sits on the surface and adds a water-repellent barrier. They work best together: oil first to condition, wax second to protect. Board creams that combine both are convenient and genuinely effective.

End Grain Boards Need More — Here's Why
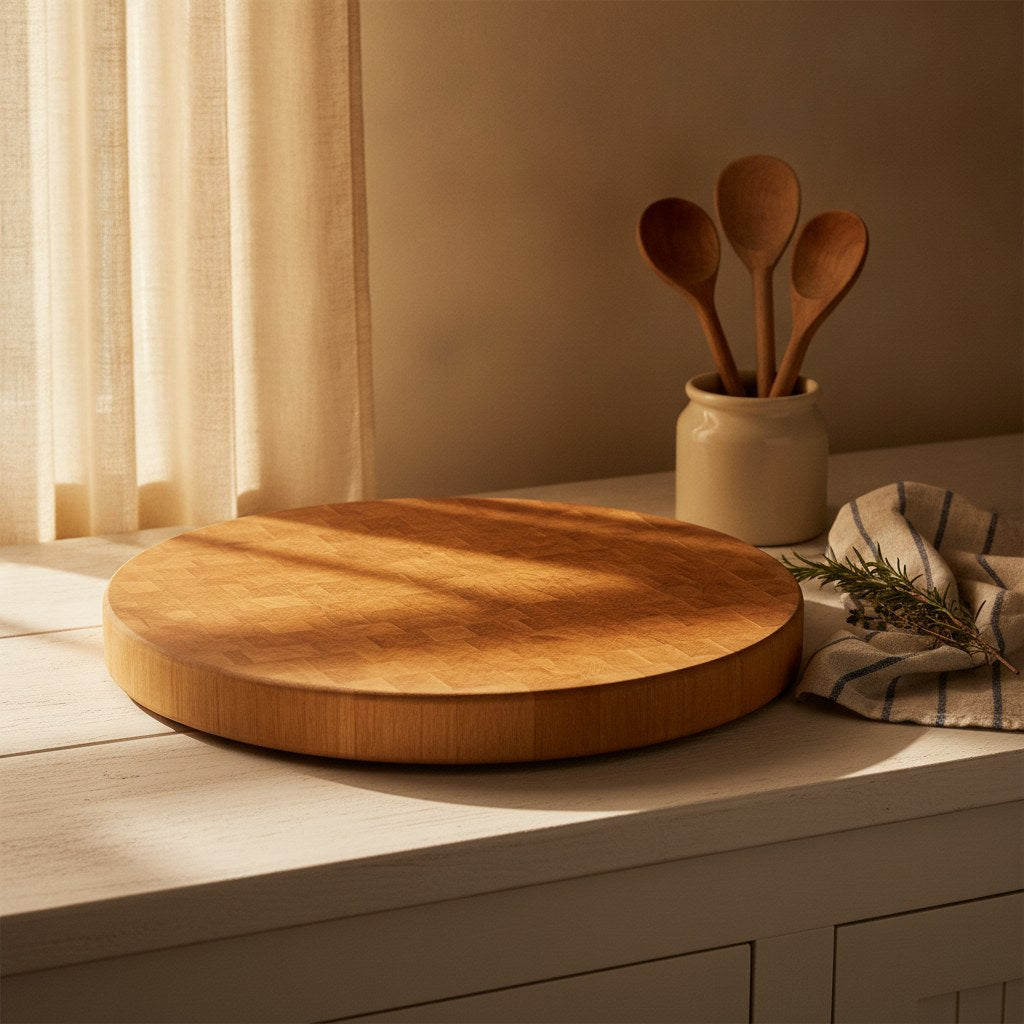
If you own a thick end-grain cutting board — the kind where you're looking at the cross-section of the wood, like the rings of a tree — it needs more oil than a face-grain board, and it needs it more often. End grain is essentially thousands of tiny straws standing upright. It drinks oil fast, which is also why it's so forgiving on knife edges. But that same porosity means it dries out faster and is more vulnerable to moisture damage from below.
For end-grain boards, flip it over and oil cutting board surfaces on the bottom as much as the top. The underside sits on a counter that may be slightly damp, and an unsealed bottom will wick moisture up into the board from below while the top dries out from above. That's a reliable recipe for cracking right down the middle.
A note on feet: if your end-grain board has rubber feet, pull them off occasionally and check underneath. Moisture gets trapped under those feet and the wood never dries. A board that smells a little off under the feet usually just needs to air out and get a fresh round of oil on the bottom.
The Rest of the Kitchen: Butcher Block, Bowls, and Utensils
The same mineral oil and beeswax system works on every unsealed wood surface in your kitchen. Butcher block countertops just need more of it — a full countertop is a lot of surface area, and the first few applications will disappear almost immediately. Apply, wait, wipe, repeat until the wood stops drinking it in. After that, a quarterly maintenance coat keeps it looking right.
Wooden salad bowls are a little different. They're usually finished with a food-safe lacquer or oil already, and most just need a wipe-down with mineral oil once or twice a year to keep from going dull and dry. Don't soak them — they're thinner than a cutting board and will warp faster.
Wooden spoons and spatulas? A quick rub with mineral oil every few weeks if they're getting regular use. They're cheap enough that people don't bother, but a well-oiled wooden spoon feels completely different in your hand than a dry one, and it won't split at the handle after a year of use.
There's a piece we wrote about the kitchen as the real heart of the home — the history and science behind why we all end up in there — that's worth reading alongside this one if you're thinking about the space as a whole. And if you've ever been told your opinion on someone else's recipe is not welcome, that guide to joyful cooking will feel familiar in the best way.
When to Oil and When to Worry
A well-maintained board that's been oiled consistently will last decades. The signs that you've let it go too long:
- The surface looks gray or white instead of the natural wood color.
- The wood feels rough or fuzzy — the grain has opened up and dried out.
- Water absorbs immediately instead of beading.
- Small cracks are appearing along the grain or at the ends.
None of that is permanent, except maybe the deep cracks. A board that's gone gray can be brought back with a light sanding — 220-grit is fine — followed by an aggressive first round of oiling. Do three or four coats over a couple of days and it will come back closer to its original color and feel. The wood remembers what it's supposed to be; it just needs the moisture back.
A board that's cracked through the middle is usually done. Gluing it back together works temporarily, but the crack will return because the structural problem — uneven drying — hasn't been fixed. That's the one case where replacement makes more sense than repair.
The kitchen is where the household actually runs, and the tools in it deserve the same attention as anything else you rely on. If you want the walls to match the care you put into the space, our kitchen signs collection has hardwood pieces carved right here in Kentucky that hold up as well as a properly oiled board. And if you want one specific sign that fits a kitchen with a sense of humor about itself, this funny carved kitchen sign says exactly what most of us are thinking when we look at the sink. A good board and a good sign. That's a kitchen worth spending time in.
Share:
Why Small Towns Still Do Homecoming: The Friday Night Lights Meaning That Refuses to Die | Bluegrass Gifts
Short Mom Phrases That Echo Through Generations | Bluegrass Gifts